Tuesday, January 29, 2013

Indian Red Lentil Soup with Spinach


I live near Devon Street in Chicago, a diverse neighborhood known for its Indian cuisine and stores.  I love Indian food, and especially dahl, lentil soup.  Making your own lentil soup is easy, inexpensive and good for you.  And if there's a Trader Joe's near you, most of these ingredients are pre-measured in their original packaging for an even faster meal.  This soup is just what you need on a cold winter's night.  Or if you're not near Devon Street.

Serves 6 - 8 (The recipe is easily halved).

2 tablespoons canola oil
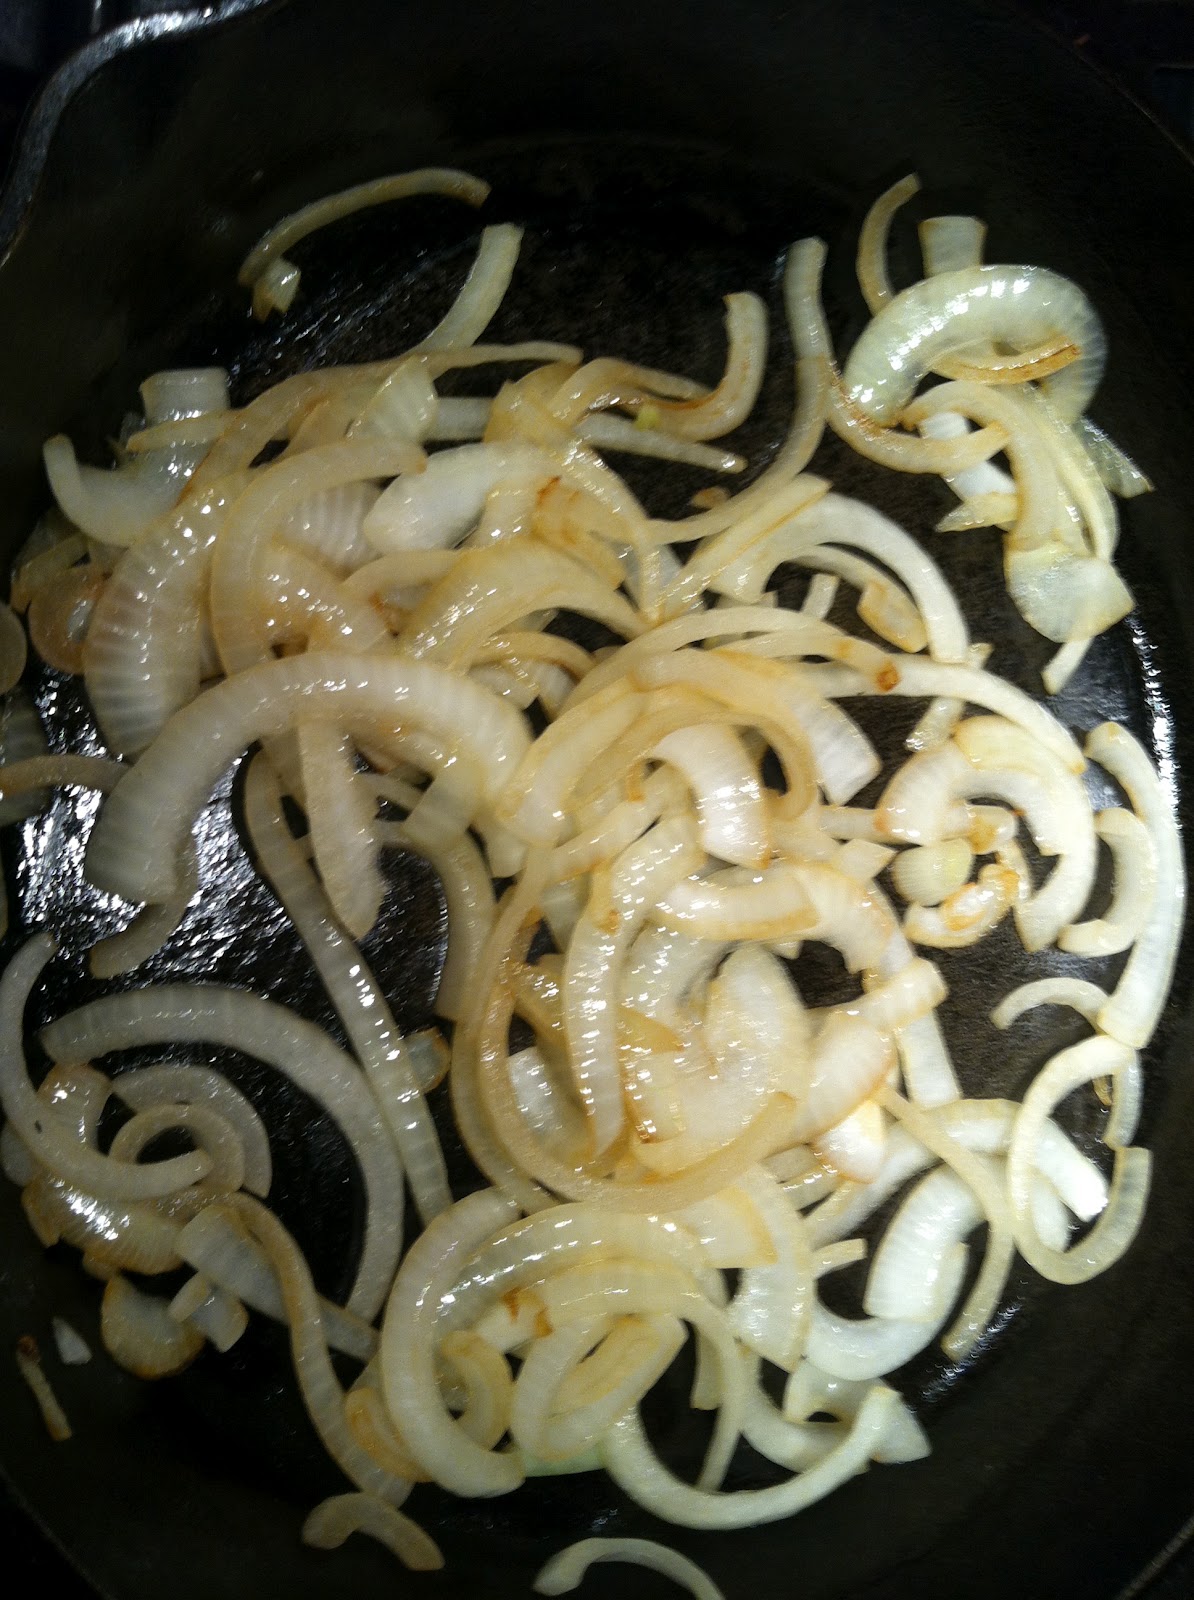
1 large onion. diced
5 cloves of garlic, minced
2 teaspoons cumin
1 teaspoon turmeric powder
2 Tablespoons curry powder
1 28 oz can (or 2 cans of 14 oz each) of diced tomatoes undrained
1 pound dry red lentils
1 quart vegetable stock
1 quart water
1 bag (6 oz) pre-washed spinach
salt and pepper to taste
lime wedges (optional)

Heat the oil in a dutch oven or other large pot on medium heat and saute the onion until tender, about 5 minutes.  Add garlic, pinch of salt, the spices and stir for about a minute, until the garlic and spices are fragrant.  Then add the diced tomatoes and bring to a simmer.

Stir in the lentils, stock and water.  Bring to a boil then simmer, covered, for about 30 minutes.  Add salt to taste.  Simmer for a few more minutes until the lentils have thickened the soup.  Then add the fresh spinach and stir until wilted.  Serve with lime wedges.

For a complete meal, feel free to include naan, Indian flat bread.  Or substitute naan for pita, hummus and tabbouli salad with the lentil soup.  Enjoy!


Wednesday, January 9, 2013

Vegetarian Whole Wheat Lo Mein

Veggie lo mein (right) served with spinach tofu in ginger-lime sauce
This is a great middle-of-the-week meal because it's fast and healthy, and you can substitute vegetable ingredients according to what you have in your fridge.  This is also a great one-dish meal.  You don't need anything else except maybe a glass of Tsingtao.

You can buy lo mein or chow mein noodles at speciality or Asian grocery stores, but I find it just as good to use whole wheat spaghetti noodles.  For a little over a buck, you can buy one pound of organic 100% whole wheat spaghetti from Trader Joe's.

The recipe below is the vegetarian version, but I've made this dish with shrimp or pre-cooked chicken for my meat-eating friends.  Just substitute in the meat for the tofu. With pre-cooked meat, just sauté in with the vegetables until warmed through.  With uncooked shrimp, just add the shrimp right after the last vegetable and sauté for a few minutes until the shrimp just loses its transparency, about 3 to 5 minutes.  Although Asian vegetables like bok choy, bean sprouts and snow peas go well with the sauce, I use whatever vegetables I have in the refrigerator, including broccoli, cabbage, carrots, onions, asparagus and cauliflower.  Make your own combination!

Cook 1 pound of whole wheat spaghetti noodles according to package, reserve at least 1/4 cup of the pasta water.
3 Tablespoons vegetable oil or canola oil.
1 tub (about 14 oz) of extra firm organic tofu, cut into bite-sized cubes.
2 Tablespoons of soy sauce
1 small onion, sliced from pole to pole into 8 sections
About 1 pound or 3 loose cups of vegetables, cut into bite-sized pieces.
2 garlic cloves, minced.
1 generous teaspoon ginger root, minced.

Sauce:
1/4 cup soy sauce
1/4 cup reserved cooled pasta water or regular water
2 Tablespoons rice wine vinegar
2 Tablespoons sesame oil
1 teaspoon honey or sugar
1 teaspoon of hot pepper flakes (optional)

In a large cast iron skillet or other large pan, heat 1 tablespoon of oil on medium, sauté the tofu for about a minute, then add the soy sauce.  Sauté and occasionally flip the tofu until golden brown, about 10 minutes.  While cooking the tofu, prepare the sauce.  When tofu is done, put in a medium bowl.

Combine sauce ingredients and whisk until sugar or honey is completely dissolved.  Set aside.

In the same pan used for the tofu, heat 1 tablespoon of vegetable oil on medium-high.  When oil is hot, saute the onions until brown and tender.  Then add vegetables and sauté until the vegetables are cooked to your liking (I like mine a little crunchy).   Set aside cooked vegetables with the tofu.

Put the remaining 1 Tablespoon of oil in the pan on medium heat.  When the oil is heated, add the cooked spaghetti and garlic and ginger.  Cook for about a minute, then add the vegetables and tofu and the sauce.  Combine until heated through.  Feel free to top the noodles with sesame seeds and/or chopped green onions.  Serve immediately. 


Friday, October 19, 2012

DECADENT BUT EASY INDIVIDUAL CHOCOLATE SOUFFLES


I love ramekins for so many things:  prep bowls, snack bins, small baked egg and cheese breakfasts, mini pot pies.  But really, why have ramekins if you don't make dessert in them?

Here's an almost no-fail way to make chocolate soufflé, where it's cake on the outside and ooey-gooey chocolate goodness on the inside.  And.... wait for it... it's made from scratch, can be made ahead prior to baking, and is pretty easy.

This is your new go-to dessert to wow your in-laws and boss.

Why almost no-fail?  Well, let's have a look at the ingredients:  chocolate, butter, sugar, eggs and flour.  Pretty much any measurement and ratio of those 5 ingredients will come out delicious.  The only way you can screw up this recipe is if you burn the soufflés.

Many recipes for chocolate soufflés are so fussy; separate the eggs, mix in cream of tartar (what is that anyway?), don't move or the soufflé will fall.  I wanted something simple and sturdy that anyone could whip up in a jiffy, so I just started testing combinations of the 5 ingredients above.  We are a family of 6, so this recipe is for 6 individual soufflés.  I figured 6 eggs for 6 soufflés, a cup of chocolate (real chocolate, in chip or bar form), 11 tablespoons of butter (it's an uneven prime number, I know, but that's what I had on hand and it came out great), 3/4 cup of sugar and 1/2 cup of flour. 

You can make the batter ahead and loosely cover with plastic wrap in the refrigerator until you are ready to bake them.  Just plan on baking them for a couple of minutes more if they have been refrigerated.

DECADENT BUT EASY INDIVIDUAL CHOCOLATE SOUFFLES:

Serves 6, about 35 minutes, with baking.

6 small ramekins, inside lightly buttered.
1 cup of real dark chocolate.
11 Tablespoons of butter, cut into approximately 1 tablespoon squares.
6 eggs.
3/4 cup sugar.
1/2 cup flour.

Heat the oven to 375 degrees.
Melt the chocolate and butter over simmering water in a double-broiler or a Pyrex in a pot of water.

I don't have a double-broiler, so I just put a Pyrex in a pot of water


Occasionally stir the chocolate and butter.  I used a wooden chopstick, but you can use fork, spoon, whisk.  Be careful of the boiling water!

While waiting for the chocolate and butter to melt, mix well the eggs and sugar in a stand-up mixer or by hand with a whisk. 

Fold in the flour.

When the chocolate and butter mixture is melted, using oven mitts, slowly pour the chocolate mixture in a small but steady stream while at the same time mixing the egg mixture.
Be careful not to just pour the whole chocolate mixture into egg mixture at once or you will cook the eggs.


Evenly pour the batter into the 6 ramekins.  Place the ramekins on a cookie sheet.


 Bake for 18 - 22 minutes, or until the tops are cracked.  Start checking the souffles around 14 minutes to make sure they don't burn.  If you like it more gooey, take the souffles right out of the oven when the tops are just cracked.  If you like it more cakey, bake for 1 or 2 minutes more.


Serve immediately.  Since the ramekins are hot, you might want to put each ramekin on a small dish so as not to burn your table or guests.  You can serve the soufflés as-is, or sprinkle some powdered sugar and top with a raspberry.  Also goes well with vanilla ice cream (but what doesn't?).


Bon appetit!

Friday, September 28, 2012

Savory Tomato, Gruyere and caramelized onion tart


Most of the time, it's just the blend of a few simple ingredients that make a dish delicious.  For this tart, the melding of cheese, onions and tomatoes is so simple and so tasty.  And easy and fast to make.  Try this for dinner tonight!

Whole wheat pie crust in pie dish.
Heirloom, grape, Roma or any other ripe fresh tomato, sliced, enough to layer the top of the tart (about 1 1/2 heirloom tomatoes)
1 Tablespoon extra virgin olive oil
One large or 2 small onions, sliced into thin rings
6 - 8 ounces shredded Gruyere cheese
salt and pepper to taste


Prepare pie crust from my recipe.  If you are short on time, you can buy an already prepared whole wheat pie crust from the supermarket.

Preheat oven to 375 degrees.

Core and slice the tomatoes into 1/4 inches slices (or if using grape or cherry tomatoes, just cut in half).  Lay the slices on paper towels to remove excess moisture from the tomatoes.


While tomatoes are on the paper towels, sautee the onion in a tablespoon of extra virgin olive oil with some salt and pepper until just caramelized.  Let the onions cools slightly and then place on the bottom of the pie crust. 


Layer the shredded cheese on top of the onions.


One slice at a time, layer the tomato slices, generously overlapping each slice, starting from the outside until you reach the center (if using grape or cherry tomatoes, just line the cut tomatoes as close to each other as possible).  Sprinkle with generous amount of salt and pepper.

Tart with Roma tomatoes


 Bake for an hour.  Tart can be served hot or at room temperature.

This dish would go great with a salad and Dijon vinaigrette.


Tart with Heirloom tomatoes


BASICS: "Easy as pie" whole wheat pie crust

I love savory tarts and galettes, and my kids love pie, so I make pie crusts on a regular basis.  I have the most perfect, easy, and yummy 100% whole wheat pie crust recipe that you must try.  With whole wheat flour and no preservatives, it's cheaper and healthier than anything you can buy in a grocery store.  My recipe is adopted from the Whole Foods recipe blog.  I've given some tips and hints to help you not make the mistakes I made when I first started baking this crust. 


1 1/4 Cups whole wheat pastry flour (I use Bob's Red Mill)
7 tablespoons very cold organic butter (cut into approximately 1 tablespoon squares)
some ice water with a teaspoon

Put the butter squares in a small bowl or plate and place in the freezer (for at least 3 - 5 minutes) while you measure out the flour.

Put the flour in the bowl of your food-processor and add the very cold butter squares.  Pulse a few times.  (Alternatively, you can cut in the cold butter squares using quick strokes with a pastry blender.  Follow the rest of the recipe with the pastry blender).

Add a teaspoon of ice water at a time, pulse until a ball forms, or it appears that the dough can be held together by patting it together.   Do not use too much water.

Put the dough ball in the refrigerator for another 3 - 5 minutes.

Roll out the dough to about a 10 inch round.  Transfer to pie dish.  Gently press together any tears and crimp the edge of the pie crust with your fingers.

Using a fork, poke holes in the dough.  Partially bake for 7 minutes at 375 degrees.

Once cool, you can fill the crust with whatever ingredients you want and bake per directions of that dish.


TIPS:
* Keep everything cold.  If it appears that the butter is melting, stop what you're doing and put the dough in the refrigerator until cold.

* Roll out the dough on a lightly floured surface or between wax paper.  Don't overwork the dough or it will get tough.

*If you have a difficult time transferring the rolled out dough, you can use a pizza peel.  Gently use the pizza peel to get under the dough, put the pie dish upside down in the middle of the dough and turn the whole thing over.  Remove the peel and the dough should be in the center of the pie dish.  You can also fold the dough into fourths for transfer and gently unfold in the pie dish. Or follow my best friend's example and loosely roll half the dough of the rolling pin to lift and place in the pie dish.

* Don't worry about tears in the dough.  Just press the tears together.  It's better to have tears in the dough than an overworked dough with no tears.

* You can also weigh down the crust with dry beans or pie crust weights during baking to prevent large bubbles from forming.  Just remember to layer the dough first with aluminum foil.  The dry beans can not be able to be eaten after baking.

*If you don't have whole wheat pastry flour, you can substitute whole wheat flour but the crust will not be as flaky and light.  

*  To make 2 crusts, it's easiest to just make one pie crust at a time instead of doubling the ingredients.


Saturday, August 11, 2012

Basics: HOW TO ROAST BEETS


Beets are a great source of vitamins, manganese and riboflavin.  And they're cheap and easy to make.  Because they are naturally sweet, many kids love to eat them.  So why don't we eat more beets?  I know many people who just think they can't roast beets and opt for the already peeled and roasted beets from the store which may contain preservatives.   I, too, was one of those people, but roasting beets is as easy as 1, 2, 3!


1.  Wrap in tin foil the washed beet roots, just like you would to make a baked potato.


2.  Bake wrapped beets in the oven (I use my toaster oven to save energy) for about 1 hour and 15 minutes at 375 degrees.


3.  Once they're cooled, the skin of the beets easily peel off.   Peel, slice and serve!


For a delicious nutrient-rich dish, serve the beets with spinach, goat cheese, walnuts and my Dijon vinaigrette.


Monday, July 9, 2012

HOMEMADE GRUYERE AND ROSEMARY BREAD


I have a few simple recipes that I use again and again for different things.  For example, I have a pancake recipe that I also use for waffles and aebleskivers (Danish pancakes).  I have a basic soup stock recipe that I use for different kinds of soups.  I have a pizza dough recipe that I also use for calzones and cheesy bread.  Having one basic recipe gives you the ability to be a little more creative, a little more able to take risks.  Here's my recipe for Gruyere and rosemary bread, using my easy pizza dough recipe.  We ate this with my Tuscan cannellini and kale soup, and the entire meal was delicious.

I only use half of the dough made, and you can easily cover and save the other half of your dough in the refrigerator for up to 3 days.  Go ahead and think of your own combination and give it a whirl.  You really can't go wrong with cheese and bread!


 HOMEMADE GRUYERE AND ROSEMARY BREAD:

Bread recipe or my pizza dough recipe, using only half the dough (or use all the dough by doubling the recipe below for 2 loaves of bread).
4 oz. shredded smoked Gruyere cheese
1 tablespoon of dried or fresh Rosemary, stems removed and chopped
Salt and pepper to taste


 Roll out the dough on a lightly floured surface into a square or rectangular shape until it's about a 1/4 - 1/2 inch thick.  Don't worry too much about the shape or thickness.

Scatter shredded cheese and rosemary over the dough.  Add salt and pepper if you wish.


From one end, start rolling the dough up until you have a bread "log."  Tuck and pinch the dough ends together so the cheese won't ooze out during baking.  If the bread loaf looks too thin and long, push the ends toward each other to create a thicker loaf.


Score (slice the top) the loaf of bread about three times to let the steam out.  Place on a baking sheet or baking stone at 425 degrees for 30 minutes.


After cooling off for a few minutes, slice and serve.  Enjoy with soup or a salad.